
|
Started |
: |
~Unrecorded~ |
|
Finished |
: |
May 4th, 2004 |
|
Base |
: |
Undeterminable |
|
Parts |
: |
WCW Macho Man torso, |
|
Materials |
: |
Revell Paint,
Fimo, |


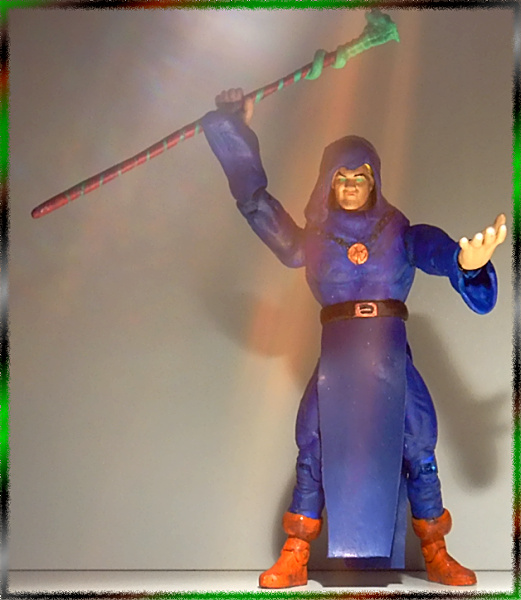
Character & Intent
Xavier has always been one of my favorite EC
Characters. A loser at everything that he does
goes into alchemy and develops things no-one
has even dared to dream about.. Only to get
burnt as a warlock in the end. A tragedy that's
not too far-fetched from the mentality of
people all around the world.
And of course, he was one of my first choices to
make a figure of.... and it took me long enough
to assemble the right parts. Unexpectedly, I gathered
them from a lot of wrestling figure parts a fellow
customizer put on Ebay. Unfortunately, this lad seems
to be a real novice, as most of the figures are bent
and broken. And what in the world possesed me
buying a bunch of figures without any heads, anyway ?!
uh...
Getting this writeup back on track, I have to give
special thanks to Tommy,
who provided me with
some excellent Chris Jericho head casts which
I so urgently needed. Why can't I seem to
master
that art ?!
All in all, I really think I could've done better
with
Xavier. But given the base material, I'm resonably
satisfied.
Creation
It all started with a certain Macho Man (black outfit)
torso which I found to be bulky and undefined
enough to look like he was wearing a robe.
After some boiling and more effort, I cracked it open
and screwed out the action feature mecha.... Wha ?
Why are you laughing ? .... WITH A SCREWDRIVER,
FOR HEAVEN'S SAKE ! Sheesh. Immature folk...
This left a few holes in the torso which were promptly
filled with some Fimo.
Unfortunately, I really didn't think too much about the
baking until the halfes alread where in the oven, where
they bent out of shape. This would not have happened
had I put them in assembled instead of seperately !
Getting them back into a shape where they would
fit together again required some more baking,
several burns on my fingers and a heapload of luck.
The arms were much easier... I just needed to add
some Fimo sleeves to that Hardy Boys shirtwear.
A similar thing can be said about the legs, all they needed
were some Fimo tops. Well, all both needed.
You see, in order for the action feature to work, Toybiz
made the WCW figures with one positive and one negative
connector, so that I had to make a replacement-peg for
the right leg. Curtain rail fullstops and lots of glue ended
up doing that trick.
It took me a long time 'till I found the right head for the
figure and I still have to give thanks to Tommy who,
as mentioned above, provided me with a Jakks
Chris Jericho ceramic replica. The joy of working
with that particular material is that it is easy to
sand and, due to it's water-based nature,
merges seamlessly with air-drying sculpting
compounds. It is easy to drill into, as well,
which made it a bliss putting the headpeg
in place. This one was much easier to make
than the leg one, as I just yoinked it from
the action feature workings of the torso.
Speaking of which... and which...
The neck articulation point of the torso wasn't
placed like I needed it to be, as it pointed foreward.
What I did was extending the hole by dremeling my
upwards from it's upper edge on. Then, I just sculpted
the appropriate shape around it, as that area needed
some sculpted folds, anyway. Speaking of which,
those are the one part of the custom I'm really
satisfied with. I think they look quite realistic...
measured by my sculpting unskills, at least.
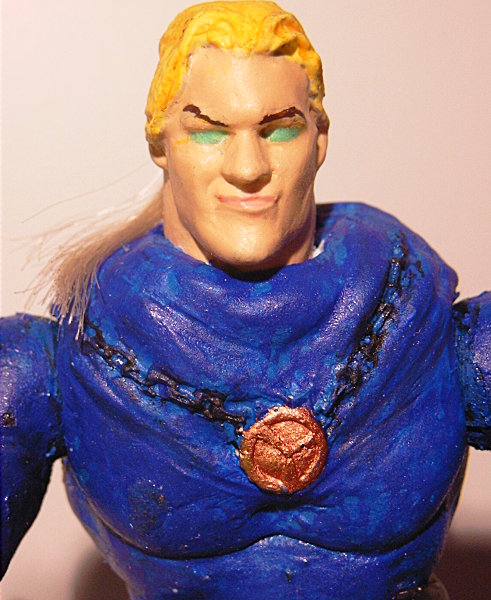
The necklace originally came from MOTU Beastman.
I took a flat cast (those, I can do) of his necklace and
then filled it up with liquid latex. After that had cured,
I just carefully incorperated it into the sculpt.
To keep the head from shaking around in the slightly
loose peghole, I filled it up with some sealing compound.
The loincloth consists of two big blobs of liquid latex,
mixed with paint and cut into shape.
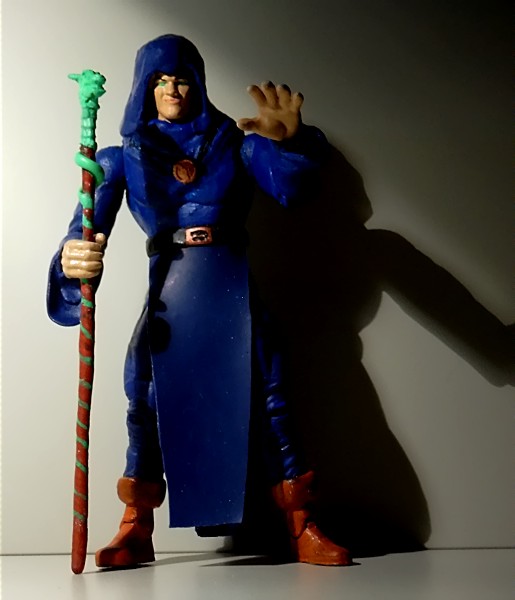
The hood was made in a similar manner. Originally, I was just
going to use the hood from a Dark Horse Ghost figure, but
I couldn't find a way for it to remain in place AND still be
detachable. So what I did was loosely placing that hood on
the figure and pouring layer upon layer of dyed latex over it.
Then, I just pulled the original hood out of this newly made
one which stays put because it is now form-fitted to the
figure's shoulder area.
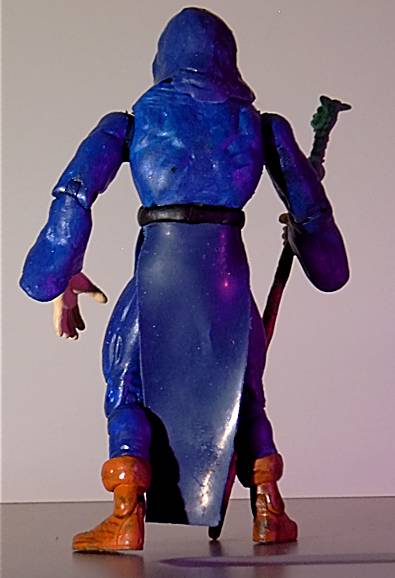
The ponytail, which remains hidden underneath the hood
most of the time, is some cheap dollhair found at a local
supermarket.
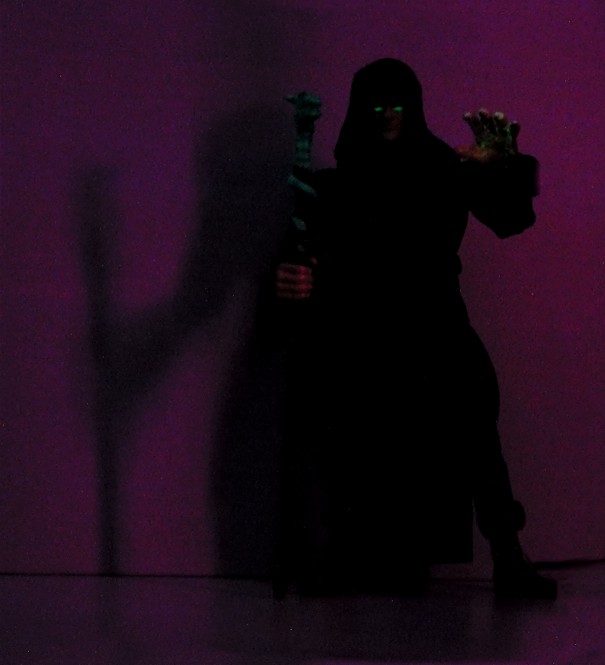
The glow-in-the-dark eyes are the result of such
paint mixed with some carefully dosed green, while
the hand had a very slight film of the glowpaint
applied to it.
Finally, the belt was sculpted onto the figure after the
loincloth was glued on. Which, in turn, had to happen
after the paint and sealer were applied, as the latter
would crumple off of the latex as it moves around.
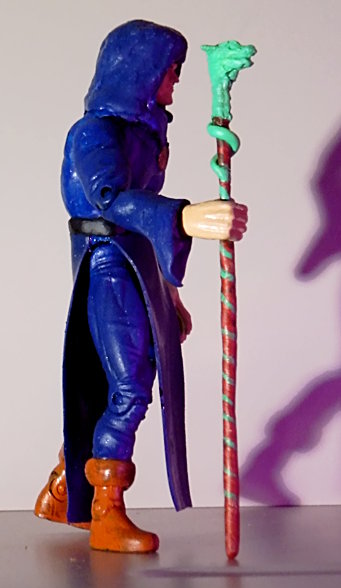
/~~Power Staff Accessory ~~\
|
Started |
: |
~Unrecorded~ |
|
Finished |
: |
May 4th, 2004 |
|
Base |
: |
Wire |
|
Parts |
: |
Accesory cast |
|
Materials |
: |
Fimo, Marabu Paint, |
Character & Intent
This one was pretty easy... In theory.
The actual staff consists of a some fimo
wrapped around wire. Not much more
to it.
The problem was the snake/dragon/whatever
part. I got it from a dagger accessory of some
unidentified 9-inch figure. But since I hate
wasting parts I know I'll need again some day,
I tried to make a cast of it.... Which mixed
botched results.
Finally, I found some stuff called fimo liquid.
It's expensive as hell, but I figured it would
be okay for a part as tiny as this.
Some backing, additional sculpting,
and paint later.... Yeah. Worked.