
 's
's

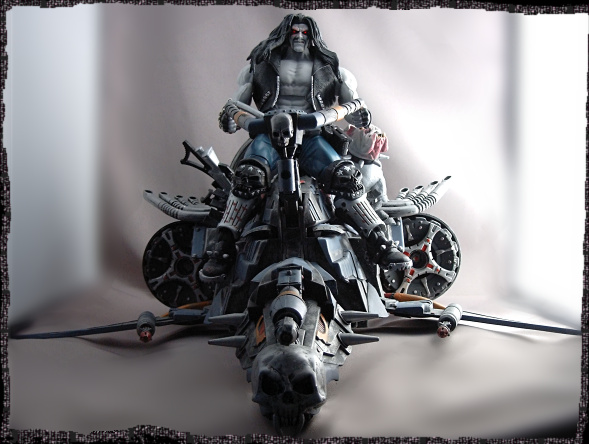
|
Started |
: |
August 2008 |
|
Finished |
: |
September 8th, 2008 |
|
Base |
: |
|
|
Parts |
: |
The
Real Ghostbusters |
|
Materials |
: |
Apoxy Sculpt, Fimo, hot glue |
|
Points of |
: |
~ One, kinda |



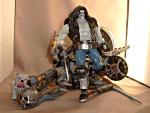
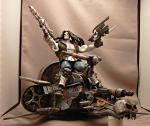
Character & Intent
When Mattel announced that they had the DC license,
I was happy.
When they announced that they wouldn't make Lobo due to his
mature-oriented comics, I was sad.
When they announced that there would be a Lobo, after all, I was
happy.
When they announced that he'd be a convention exclusive, I was
sad.
When they announced that he'd be available via Mattycollector.com, I
was happy.
When I realized that he'd come without a space-bike to call his
own, I was.. motivated.
Okay, the above isn't an exact summary of the timeline, but it
more or less fits.
I actually didn't even mean to order Lobo from Mattycollector,
due to the pricy
shipping that invetibably comes with crossing the oceans. However,
just to dream,
I put one into my "basket" on the site. And kept him there
until he was officially sold
out. And then, seeing that he was still in the basket,
I completed the order for fun,
expecting it to be cancelled. Instead, I received my Lobo a few
weeks later.
I can't claim to regret the purchase.
However, the perfect way to display a Lobo figure - apart from a
mountain of dead
heroes - is to have him sitting on his space bike. Which he obviously
didn't come with.
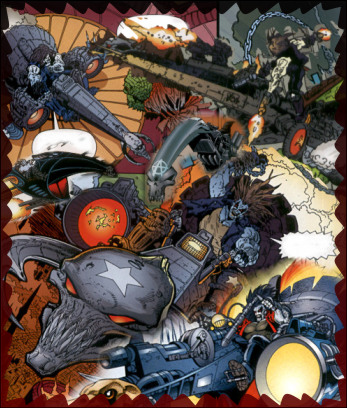
I was very idly looking around for possible stand-ins (As you can
tell by the collage
above, the design was never very specific), as my gaze fell upon the
MOTU 2002
Battle Tank, which I had bought for possible customizing
potential.
"Flip-out weapon wings. Hmm. If I screw it open and turn
them around..
And re-position the front... and... Holy crap, this is going to
work."
And by now, I think it actually did. How 'bout that ?
Creation
Like said above, the first step was to take the screws out of the
battle tank and take apart
what could be taken apart. Turning the wings around, with the
launchers on top, gave them
a much more cohesive look for Lobo's decidely chaotic vehicle. Later
on, I glued them into
place, dremel-cut some of the vehicle's upper hull to make more
clearance for the parts that
used to be bellow and covered the cutting line with some Magic
Plastic cuts. Also, I attached
the rear fins from an old and beaten Ecto-1 to extend the wings.
The mechanism that made the ram head flip out was naturally taken
apart, as well. The inter-
connected rods that were part of it were removed, as was the handle
on top of the vehicle.
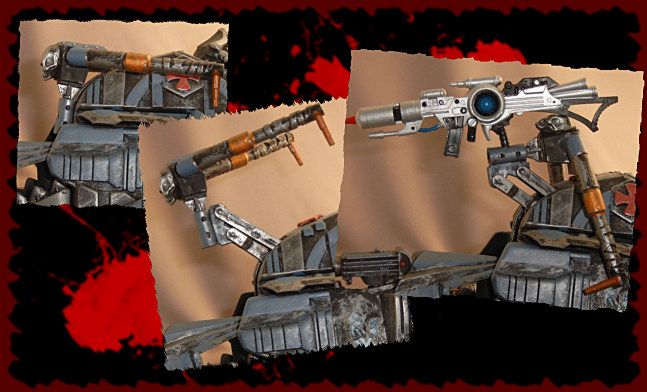
Fiddling around with those parts, I realized that they could
actually be used to create an adjustable
handle. A little glue and metal rod inserted for stability of the
gluing point forged and unholy alliance
of these two elements. A skull cast from a Movie Maniacs poster base
rounded the appearance.
The final result looks kinda like this.
The choppery front was revised a couple of times, but the basic
concept remained the same -
Take the ram-head apart, glue the parts to the front of the tank. By
the way, the ear-like protusions
were cut off and placed as ornamental fins on the back of the bike.
I'm not sure if I fully
succeeded in making it look unlike what it used to be, but it will
do. The gun on top of that
front section came from Samurai Man-At-Arms and fit quite nicely into
the slot that used to
hold the top of the ram head. The big skull in front gave me some
trouble - Everything I could
find was either too large or too small, so after a week of searching,
I just decided to sculpt it
on my own. Sure, it's painfully obvious that it is my first full
skull sculpt... But it's close enough.
The seat/saddle was one of the first parts I added to the
vehicle, as it was quite easy. It's just
a Mecha-Bite Panthor's saddle hot-glued into place and sculpted
over at some of the seams.
The slots of on the side left over from the action figure gave me
some trouble, but ultimately,
I think the Lego parts I shoved in there to cover up worked
out fine. There also was this
empty space where the wings used to rest - I was afraid that
they'd end up looking too empty,
so I decided to decoupage them up with some pinups by Scott
Blair and Darren
Taylor,
respectively. Frankly, I've done it without permission - But
seriously, why would they give
a flyin' frag about what I put on my one-of-a-kind action
figure accessory on my own shelf ?
Ironically, the gritty paintjob ended up making the space look a lot
less blank than I thought
- but by then, I was so attached to the pinup idea that
I went ahead with it, anyway. Besides,
if anyone's up for having a bunch of gorgeous women at his feet, it's
Lobo.
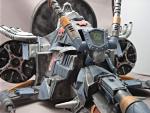
The turbines on the side (Wait a second - Turbines in space
? What the heck ?!) were made
by gluing a screwnut into the tank's front wheels, drilling holes
into two fortunately-perfectly-
sized peanut butter jar lids, screwing the whole thing together and
gluing it into place. Given
the nature of screws, you could say that the turbines actually spin,
but that would lead to
coming off when screwing counter-clockwise or breaking when screwing
too hard and long
clockwise. ... Why are you laughing ?
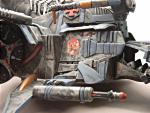
The exhausts on top were just taken from an old Ghostbusters
vehicle and glued into place.
nothing more to say about that. Similarily, a few uneven spots on the
vehicle were sculpted
over. Again, quite unremarkable. This leaves remark time for the
cross symbol on the sides:
It a bit odd enough that the Battle Tank had vintage He-Man-styled
iron cross symbols
on it's sides, but it was also fortunate for this project. In the
comics, Lobo's more often
than not shown wearing the symbol as a necklace. Undoubtably a tie-in
with Metal
and biker culture, where the symbol has rosen to popularity with it's
original, ancient
germanic meaning of power. So it's definitely not out of place on his
space bike.
Finally, the thrusters in the back are a wild combination of a
frozen hasbrowns jar lid
and Kinder Surprise egg shells. It took some time to actually
get them all to hold up,
but drilling a sizable hole into the back of the tank to attach the
top of the "connector"
eggshell did the biggest part of the trick.
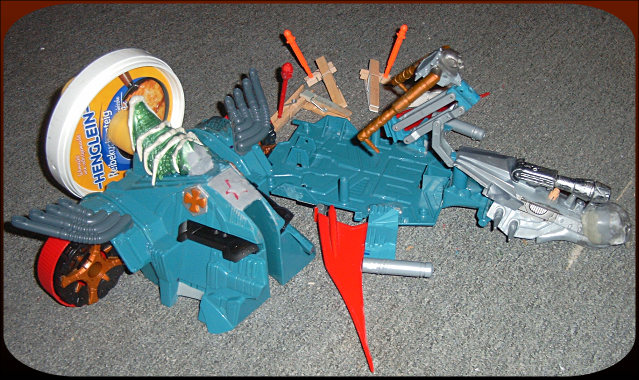
Priming followed.
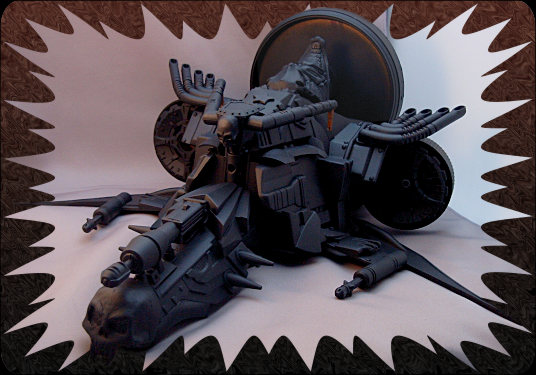
After this, it was just a matter of paint. Originally, I had
the whole thing decked
out in the same drybrushed gun metal tone, but that was clearly too
monotonous.
So I added assorted blue and red highlights as well as some gold
to make the
handles fit in better. I'd left the grips of which unprimed and
-painted to avoid
paint rub on Lobo's hands.
And that's... it.
(To main)
