
9 inch scale

|
Started |
: |
October 10th, 2003 |
|
Finished |
: |
October 15th, 2003 |
|
Base |
: |
Animated
Wolverine |
|
Parts |
: |
~ none ~ |
|
Materials |
: |
Revell Colors,
hot glue, |
|
Points of Articulation |
: |
9 |


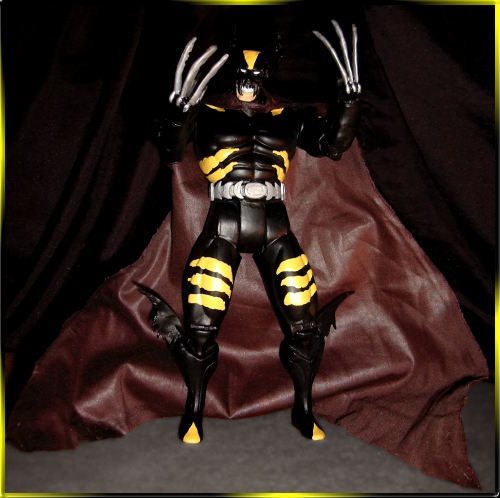
Character & Intent
Yup, that's my second Dark Claw.
You see, not too long after finishing the first one,
I already had plans to make another, better one.
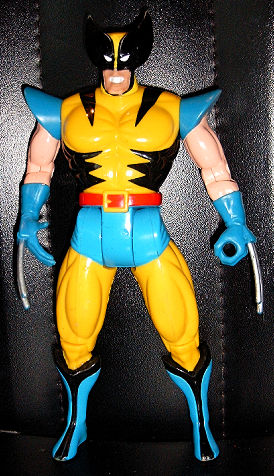
Since I knew there was a deluxe version (Read:
regular mold resized to 9 inch scale) of animated
Wolverine out, it was just a matter of time until
I got one of those and commenced to create
my very own "Deluxe" Dark Claw .
Creation
This one was a lot of fun work... And it ended up
being finished much faster than I thought.
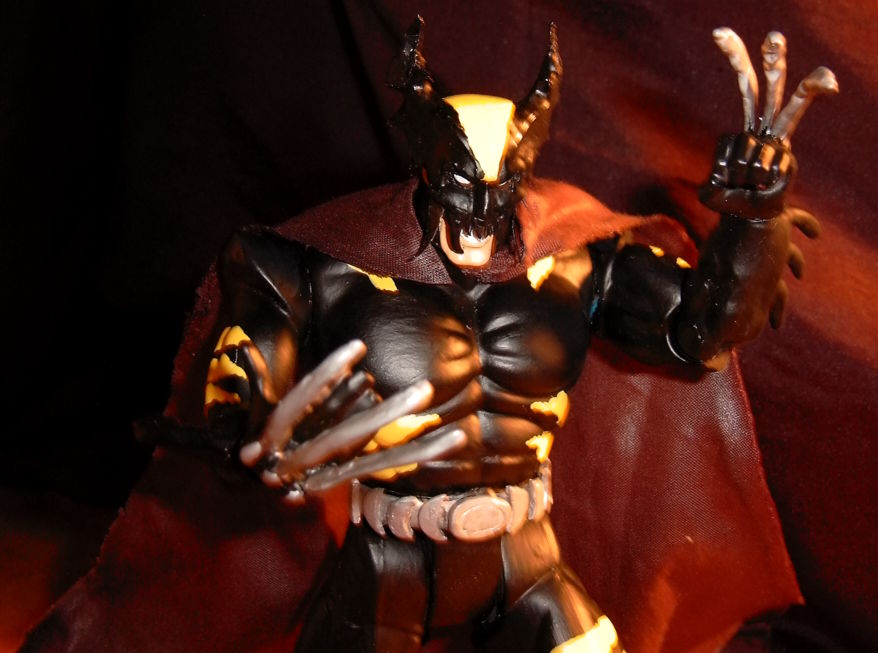
I started off by dremeling all the unwanted details
of the wolverine sculpt away as well as the mask
into the proper shape. I still wonder why they gave
him boxershorts in this version, but the strangest part
of the figure was the stomach; for some reason,
the sculptor seemed to greatly underestimate the
detail of the human anatomy and put only two abs
onto old Logan - Making this fabulous two-pac
appear like his actual mutation. Of course that
had to go, and after some more dremeling, the
abs appeared to be like they should be.
(OKAY ! He has four now !
We all know the rest is behind his belt !)
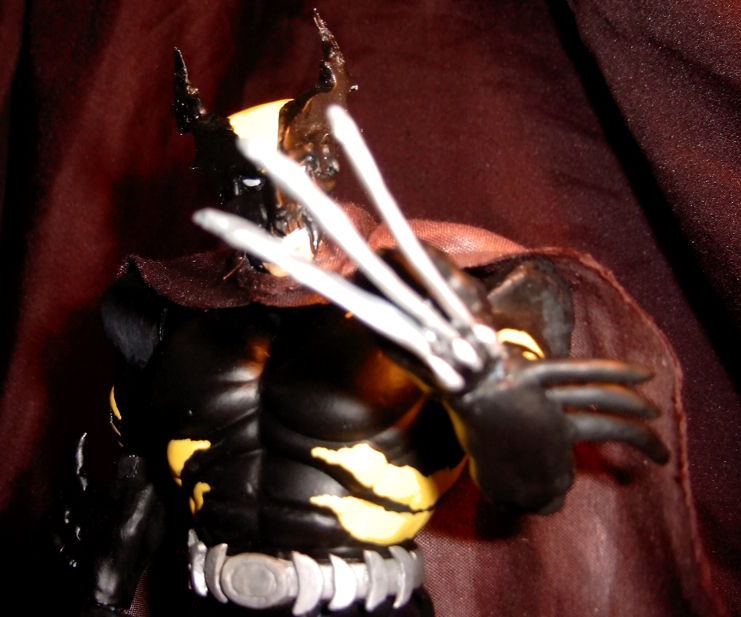
Next up was adding details to the mask.
While the smaller teeth are bottle cap cuttings,
the larger fangs represent the first time I actually
used parts made of FIMO on a figure - Let me
tell you, this stuff is great !
After I glued the teeth in place, I filled the area
with Efa Plast, which is the air-drying kind of
great stuff.
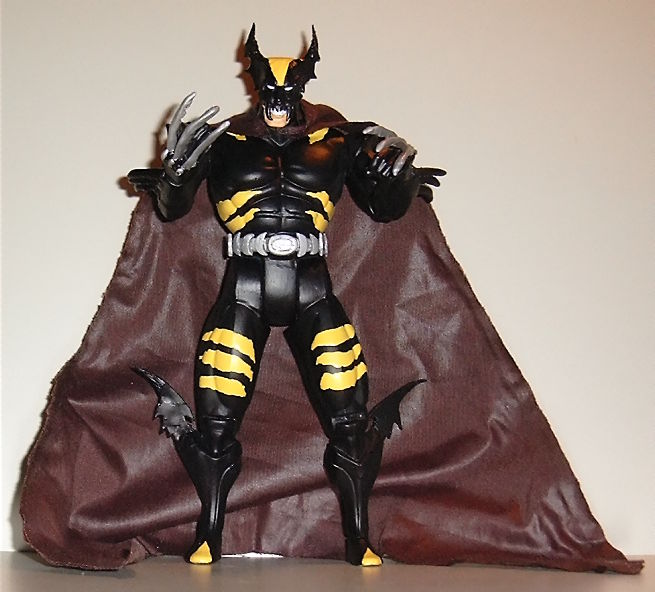
The tips of the mask are mere tape which I
"welded" in place with the hot glue gun for
added durability.
If you have taken a look at the source
figure, you
might have noticed that the hands were fixed in a
rather passive, out-of character manner.
I didn't like that, so I decided to add some
articulation. (another first for me !)
At this scale, it was a fairly easy mission; all I had
to do was to cut the hands off, drill some holes
into the hands and arms, sand the seams,
and glue some plastic pegs into the hands.
Re-attached and done.
Of course I also cut those lackluster claws off...
and replacing them was up next.

As a base, I once again used the
ever-so-handy
bottle cap safety seals, engulfed by fimo. I made
sure to get the bent shape and ridges right, since
I tried to stay as true to the original design as
possible. Why, you ask ? Because hardly
anyone ever does when it comes to Dark
Claw, and I love to have something unique.
The claws were then attached with some
hot glue
The fins(?) on his forearms were done the
same
way as the claws, but I also dremelled a crease
into each forearm to make them fit better and
then sculpted around the fins with some Efa Plast.
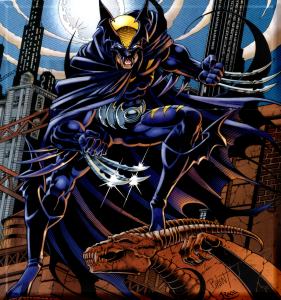
The strange wings on his boots were a
totally
different task - I actually cut the elements from
a larger scan of the comic cover displayed
further above on this page, printed those
out, and then evenly smeared hot glue all
over the printout. After the glue, had cooled
off, I simply cut the prints out along with
the glue - Instant wings.
By the way...
I've never seen this method applied anywhere
else, so I guess I am the inventor and there-
fore get to choose a name. Hmmm...
This method shall now and forever been
known as
"hot
CSH glue trick".
Always remember to put "hot" before "CSH".
(Hey, it's worth a try, isn't it ?)
Anyway, the wings were put the in place the same
the same way as the fins were. In addition, I had
to make sure to make the wings longer then
required since I attached them using hot glue,
thus melting their base.
Work was going fast and
swift, and so is this write-up.
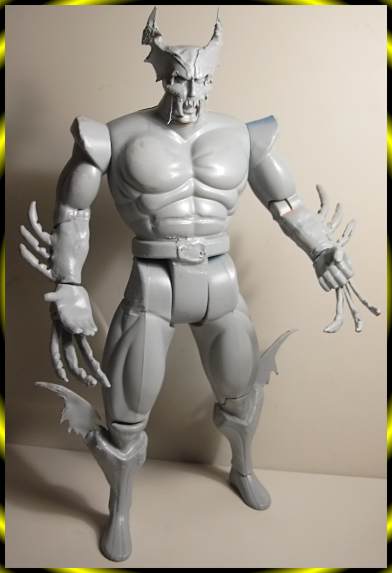
Next up was spray-priming the figure.
Nothing spectacular about it, so just
have a look at what it looked like afterwards:
Of course that was the time for the paintjob.
I made sure to use lots of paint thinner on the black paint
to make it as smooth as possible. Then I made sure to get
lots of fresh air to get rid of the headache the paint thinner
had given me.
As you might notice, I had the common sense
not to use the full surface of the rediculusly large
eyes Wolverine had. Holy Magneto on a trip,
that used to be one ugly figure.
Contradicting my ealier "true-to-the-original"
statement, I slightly modified the the stripes on
the costume, making them look more like actual
tiger stripes and therefore more ferocious.
At least that's the idea.
Of course the entire figure was sealed
and finished with a layer of silke-matte
clear laque.
And we're closing in on the finishing touches...
The belt is made out of several pieces of fimo
that were first painted, then glued into place.
No more, no less.
The cape is made out of two identical pieces of
cloth that I glued together after putting some wire
on the edges. This way, it could be bent into
shape to both attach it to the figure and pose
it afterwards.
Then... Mars exploded and it's people came
to invade earth and make it their own. Good
thing the figure was already finished. I'd
hate to be enslaved with unfinished
business left to do.