

(~ New and Improved ~)
|
Started |
: |
Juli 29th, 2007 |
|
Finished |
: |
August 25th, 2007 |
|
Base |
: |
|
|
Parts |
: |
SOTA Charmed Series |
|
Materials |
: |
Apoxy Sculpt, Citadel Paints, |
|
Points of |
: |
~16 |
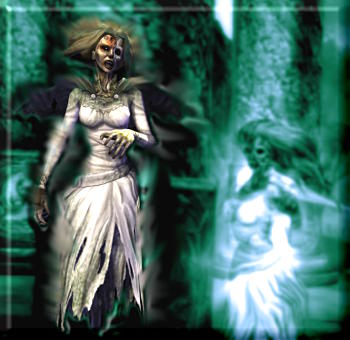
Character & Intent
What can I say ? I've done this one twice before.
And it sucked both times. So I just wanted to get it
right one time so it would fit in with my other LOK
customs.
And the right base came along in form of Hasbro's
Marvel Legends Movie Jean Grey. On a sidenote
there... Trying to work with this one really taught me
to hate Hasbro's approach to superhero figures.
Creation
First comes the boil, then comes the pop. First comes the
boil, then comes the pop. Joiiiin uuuuusss...
As usual, work on the figure started with the removal
of the unwanted parts. The funny thing is that I originally
planned to keep and work with all the original parts (above
the waist, at least). But when I saw the actual figure's
head
and arms, I had to abandon those plans - They were just too
awful for me to keep. I might be a lousy customizer, but
even
I have standards.
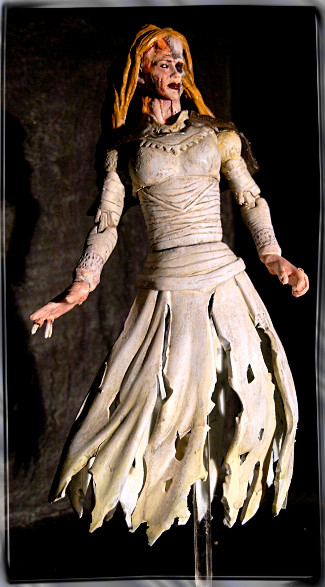
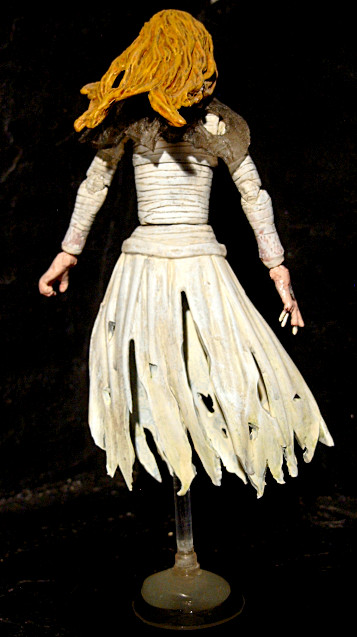
Another thing that had to go was the entire lower body. Since
Ariel is basically a free-floating apparition, legs were a no-go.
To get rid of these parts, I used some force, some boiling,
some cutting and a lot of time.
Replacing the legs in matters of filling space between the
floor
and the upper body (which unfortunately remains a requirement
due to gravity) is a daring construct which incorperates a Lego
Bionicle balljoint, a clear cocktail stirrer, some nightglow deco
pebble and the cut-out center of a CD. On the floor side, it's
kept
together by glue. Pretty obvious and not all that interesting.
Towards
the crotch (where interesting things usually tend to happen), it's a
little
more involved.
I drilled the center of the torso out until the female part of the
balljoint
fit in tightly. Then, I glued it there and filled the sides up
with Apoxy
sculpt, creating an entirely secure fit. Since the construction of
said
female part allowed a gap between the torso and the connector,
I was able to push the rubbery dress part back over it, even re-
taining pseudo-articulation, as the dress can turn in place.
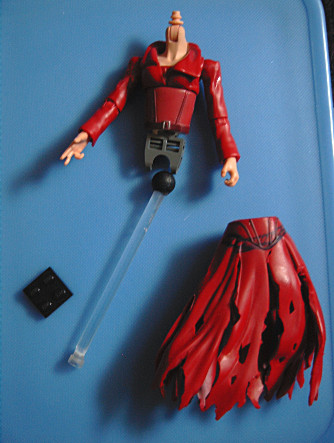
You can see that the original arms are still in place in the shot
above,
as I really tried to make those work. Ultimately,
I just couldn't.
Fortunately enough, I had recently aquired a bunch of loose
SOTA
Street Fighter figures, Ibuki amongst them. Her arms were quite
apt for the job. Well, except for one detail - Both broke at the
double joint while I was working on them.
But again, luck worked in my favor. Not too long ago, I
stumbled
upon a (presumably discontinued) material called "Magic
Plastic".
To put it simply, it's basically hot glue without the stickyness
that
hardens more like flexible plastic. Not great to work with and
pretty bad for sculpting, but quite good for little fixes like
this.
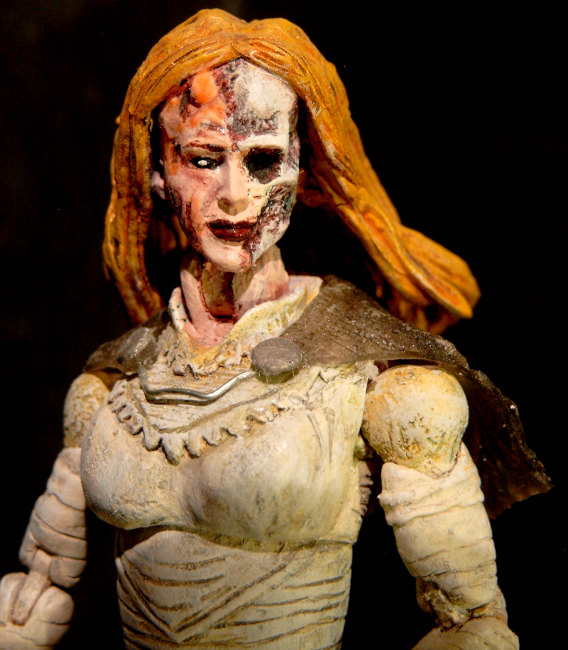
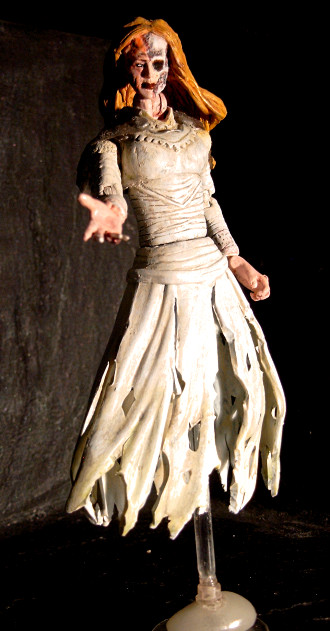
The head was another challenge, but actually turned out to be
surprisingly easy to make. It started out as Charmed Series 2
Phoebe, bearing a rather convincing Alyssa Milano likeness.
Of course, that had to change. As usual, I made a ceramics
cast of the original head to work on. Studying various zombie
customs online, I had come to notice that a easy mistake to
make is to sculpt the skull parts to far outward, making it
look "stuck on". To avoid this and to match up with the
original facial structure, I actually worked inward, carving
most of the skull and wounds and only sculpting select details.
Speaking of things to put onto the head, the hair was a
relatively
relevant thing in that regard. I chose that of X-23 for two
reasons:
1: I had it
and 2: With its grimy look and gravity-defying nature, it fit Ariel
nicely.
I only had to modify the 'do slightly by adding the foremost part
and
gluing two lose strands to the main body of it.
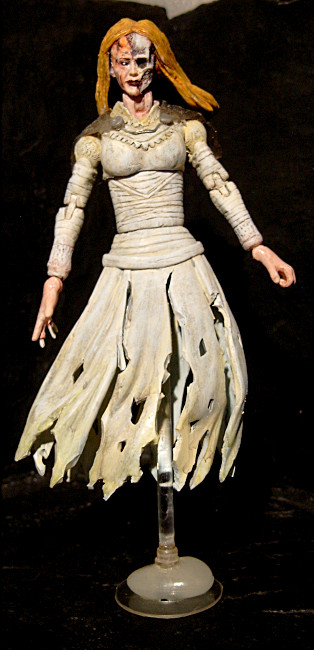
The most time-consuming part of the process was, of course, the
sculpting
of her wrappy dress.Time-consuming... but not very interesting. Nope,
got
nothing special to say about it. Except maybe for the fact that
I used "B-Yellow"
on the part that went on the bottom dress for the obvious reason of
flexibility.
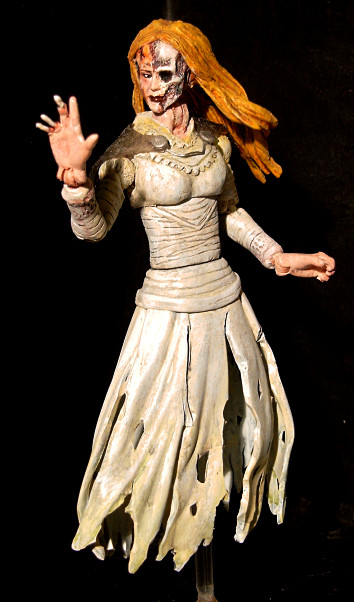
Finally, her cape is an interesting link to my previous approach -
It comes from
the same figure I used as the main base back then. The Crone's
veils were too
small to work as a short cape on her body, but for this one, they fit
nicely. I glued
them in place after the paintjob, adding sculpted buttons and a
connection made
from wire.
As for the paintjob itself - Again, rather unspectacular. Some
wash, some drybrushing,
and a lot of layers on the parts that were too flexible to use primer
on.
And again, I give to you Ariel - A lot closer to the source this time.

(To main)